Smoothing the firewall
Alot of times hot-rodders will smooth the firewall to give you that really clean apperance in the engine bay. I'm on the other hand am doing this out of neccesity. Here's a quick list of why I'm about to cut out about two weeks of work:
1- After glancing it over again, it's going to be extremely hard to get the EGR tubing back on. This runs from the right-hand exhaust manifold up to the back of the supercharger. So it was either a custom tube, or alot of hammering on the firewall.
2- The A/C evaporator that I bought is really compact and doesn't take up nearly the room as the old heater box does
3- There's alot of holes that need to be filled in the firewall that aren't being using.
So with that in mind here comes sheet metal project number 3.
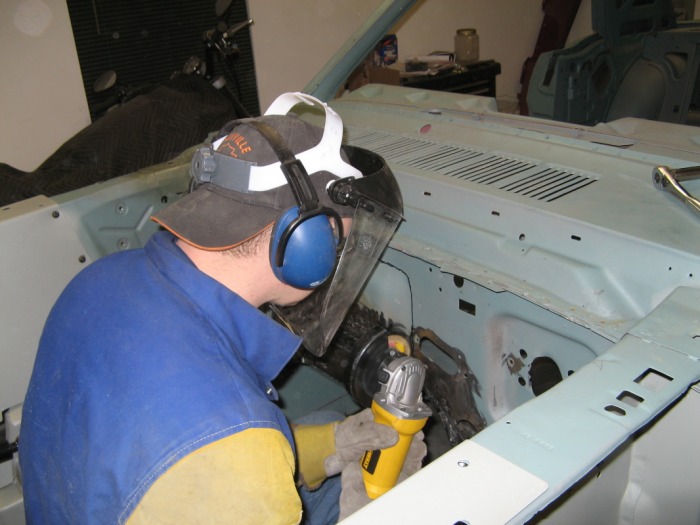
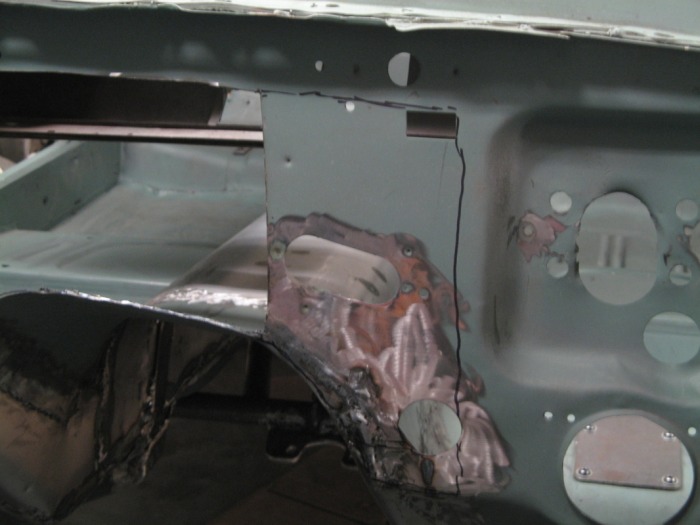
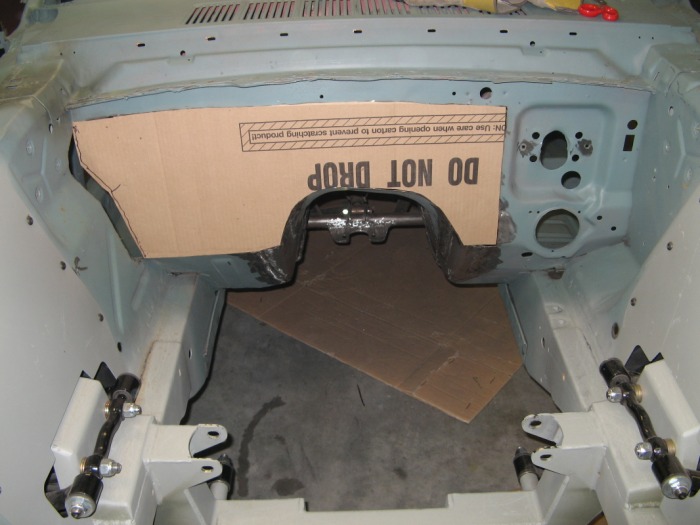
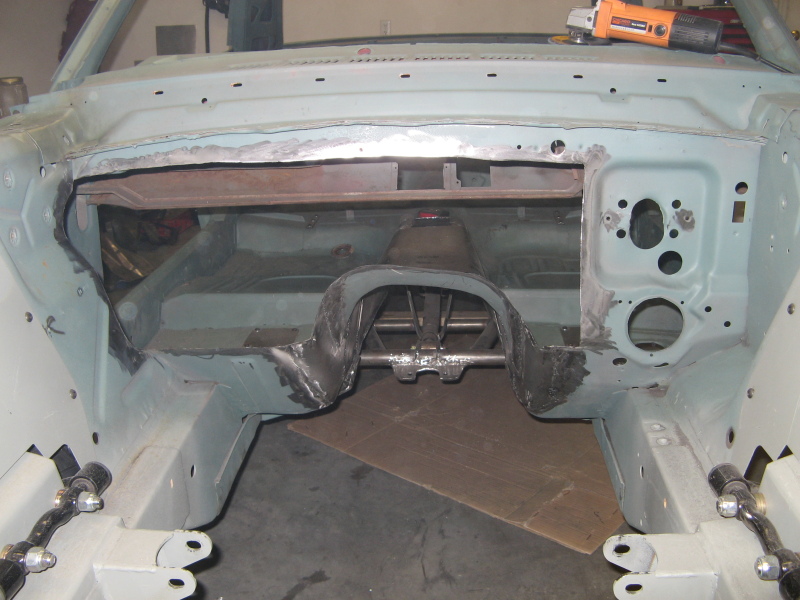
Old heater box pushout
Here you can see how the firewall was stamped with a push-out for the old heater box. The large hole the left is where the blower motor used to come through and reside in the engine compartment. It was interesting in that only four bolts held the entire heater box in (these are the four around the blower motor opening. The other two larger holes just to the right of the blower motor were for the heater core lines. If you seen the pictures of the engine bay with the engine you can get an idea of just how far over the engine covers this part of the firewall. The black sharpie line is my intended cut. This will allow me to patch in a flat piece of metal and gain about 2-1/2" of engine bay room.
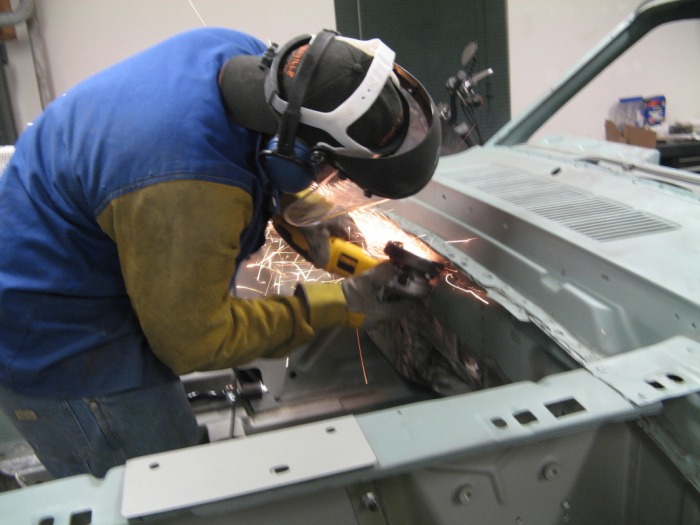
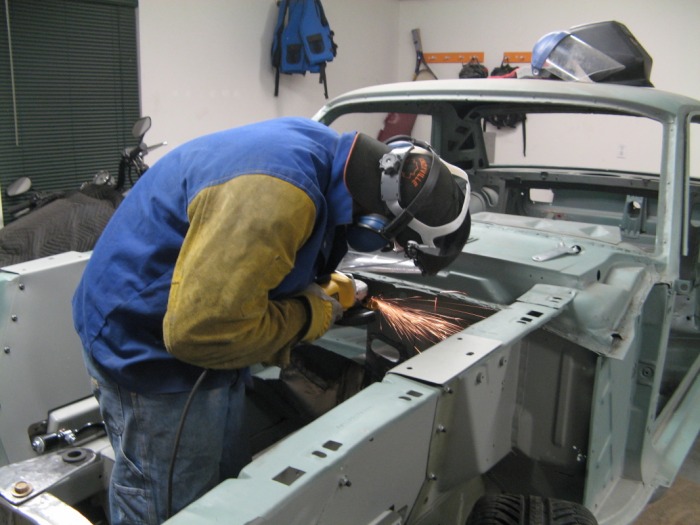
Cutting out weeks worth of work

This is a picture of me going to town on the firewall. Actually I think this is the first picture of me on this site. LOL, and you can't tell anything about me. Ahh well, maybe I'll do a profile page or something. Anyways, I actually glad I'm cutting this portion out now. It's going to be so much easier to finish off this engine bay and work on the engine with the extra couple of inches. Besides I can get rid of all my first time welding fixes on the transmission tunnel there. :-)
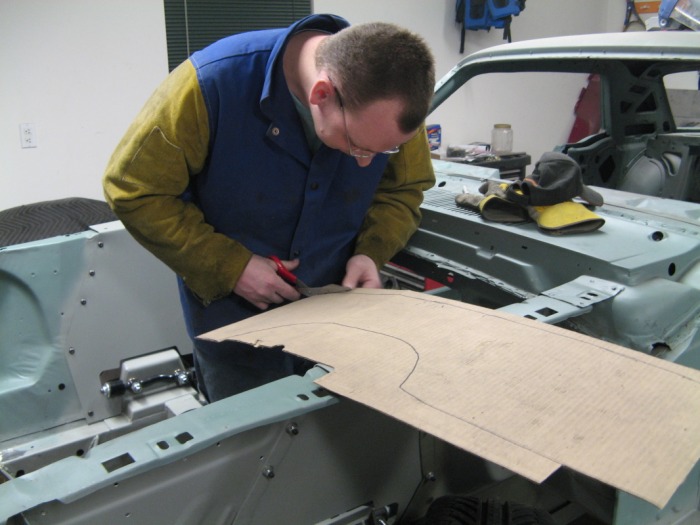
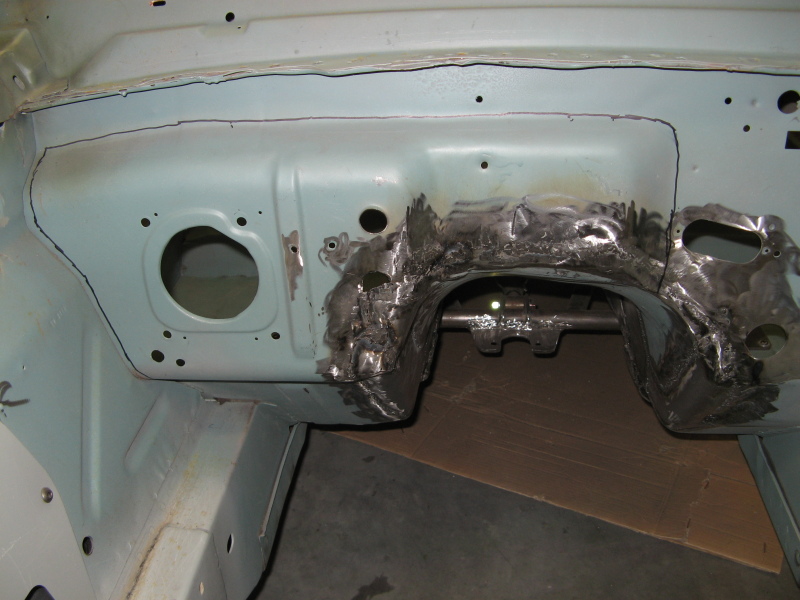
Just a bit more to cut
Here is after my first past at cutting out that heater box push-out. At this point I was looking the old A/C lines, and Throttle holes. I was actually going to just fill them in. But since I was this far, I might as well just cut it all out and do just one piece. So with the sharpie in hand again, I traced out a bit more that I needed to cut.
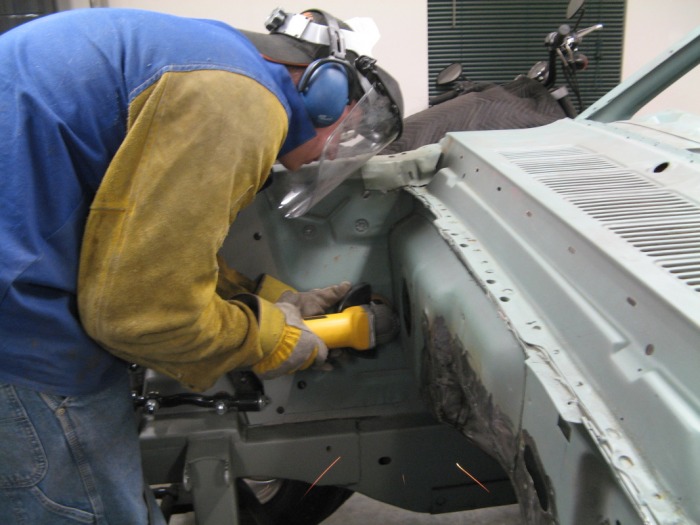
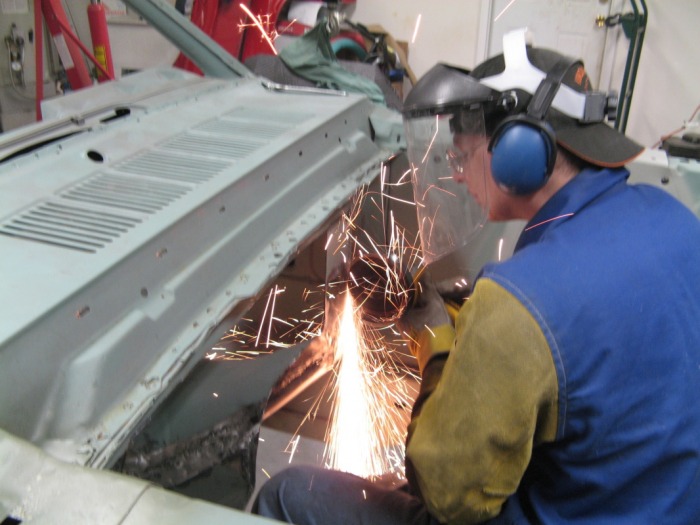
More Sparks
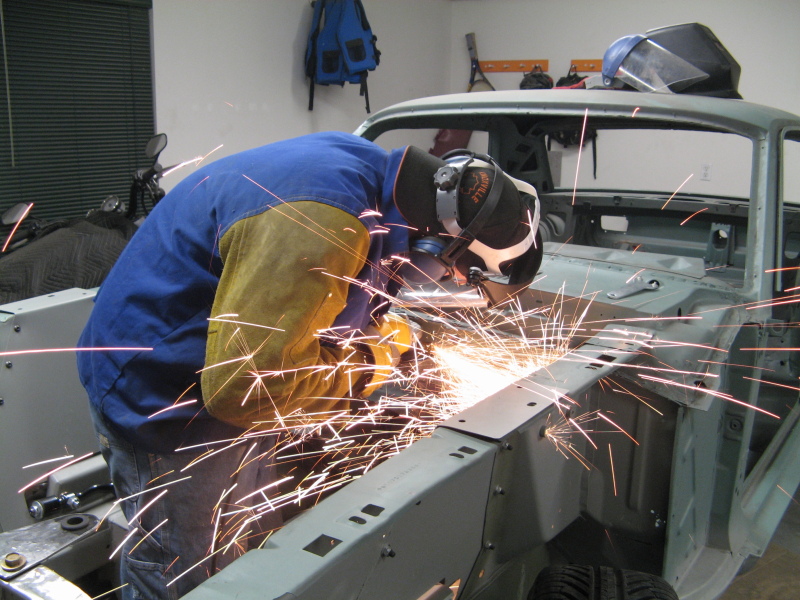
Grinding pictures are alway kewl to me. Something about being able to catch all those little white-hot chunks of metal flying everywhere in an instance is fun. I need to get a high-speed camera, that would be really kewl.
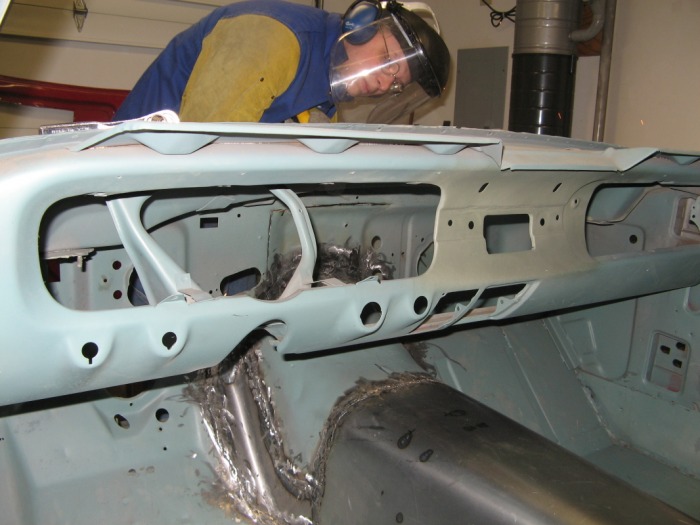
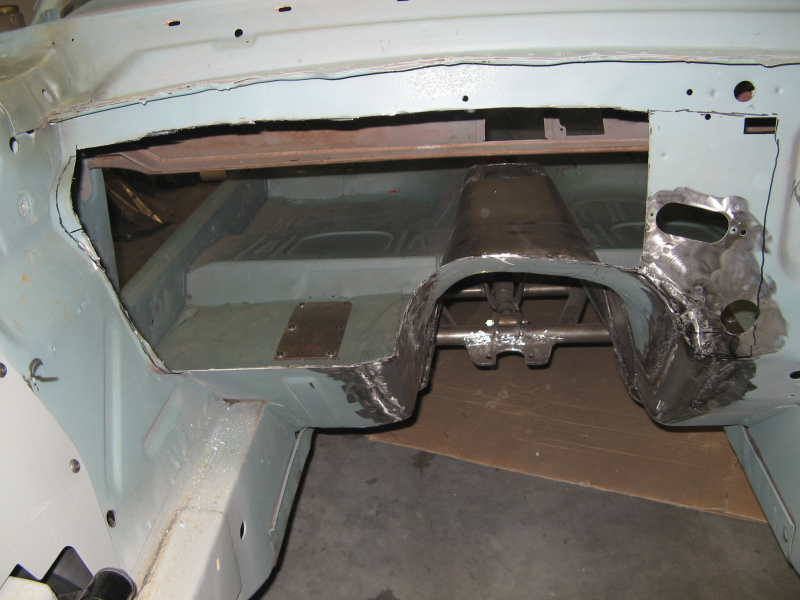
The draftiest Firewall ever.
This is how much I had to cut out of the firewall to get it to be flat. I actually seam welded the inner fender to the firewall on the left in the picture. It's alot easier to weld two pieces on an outside corner, than trying to tack three pieces in a T-junction. Thinking about it now, I'm actually glad that I already did the transmission tunnel. I would of hated to have all those loose pieces flopping and trying to weld them all together at once. Oh and a side note, I guess this would of been the best time to paint the backside of the dash. Opps....
Filling in the firewall
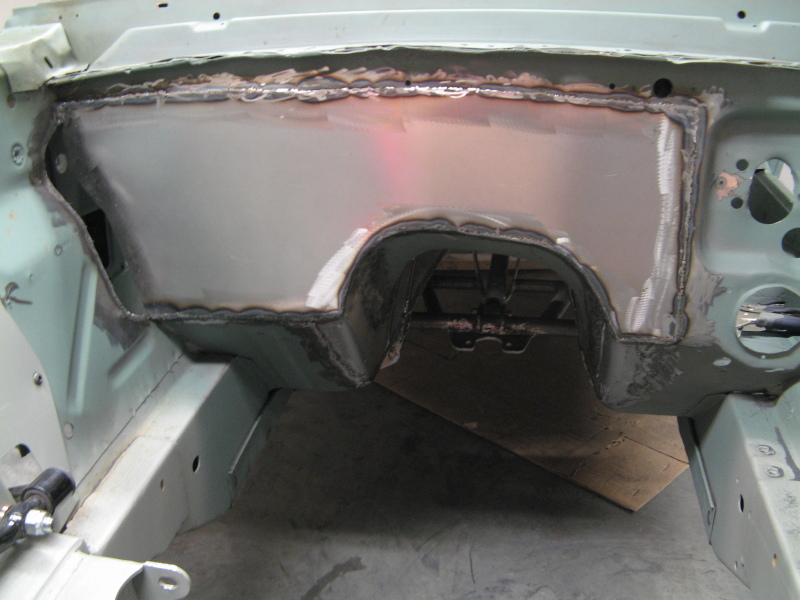
Here's the major portion of the firewall filled in. This was surpisingly easy to weld in. I actually rolled the bottom edge so that i can weld on a flat plane instead of a corner. That actually came out pretty nice.
Closing the side piece
Here I filled in the last bit on the left there. You can see just how much the firewall was actually pushed forward. One thing I hate doing in inside corner welding. Unless you get the metal really close together your arc jumps around alot. Jeremy had already gone home by this point so I was left with trying to wedge the corner together from the backside to spot weld it so that I can weld it completely from the front.
A view from the inside
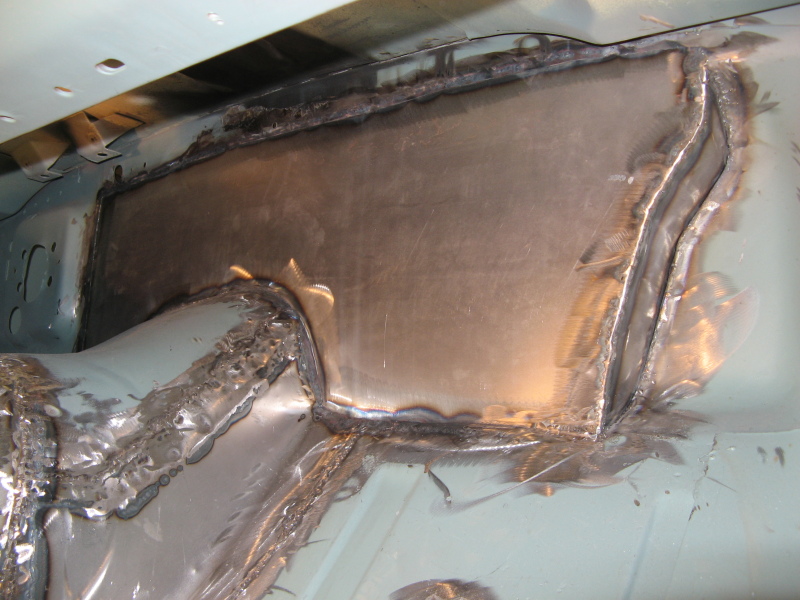
So as much as I hate doing inside corner welds I found an easy solution for my problem of grinding through them. After I weld the inside portion, I came and welded the backside. This allows me to grind down the inside portion and the outside portion without grinding "through". It took me a while to figure this out. But it seems to work really nicely in filling in holes in the sheet metal. Oh yah, it was a bit of yoga pose to get situation under here with a light to weld up that corner. This picture was after I grinded and sanded it smooth. You can see the side piece here that connects to the inner fender. There's actually a little pocket that I might make use of for something, dunno what yet though.
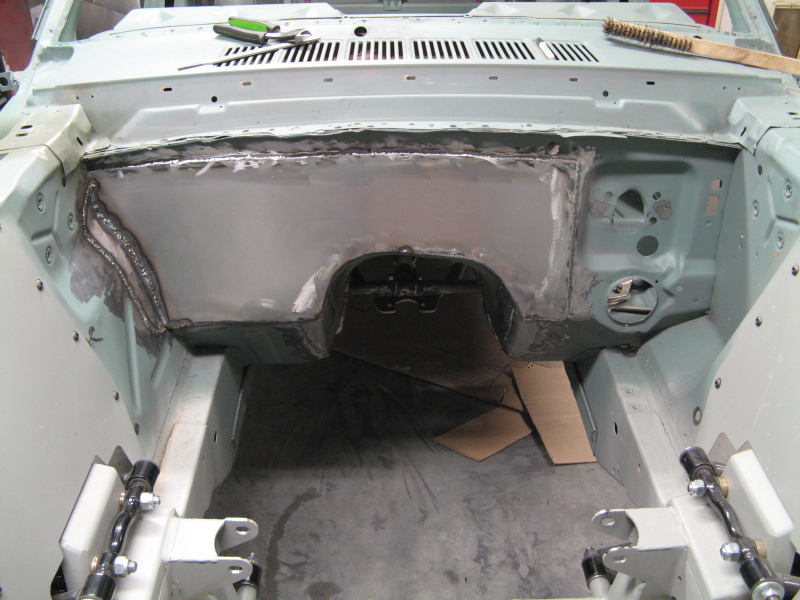
Finally a smooth firewall
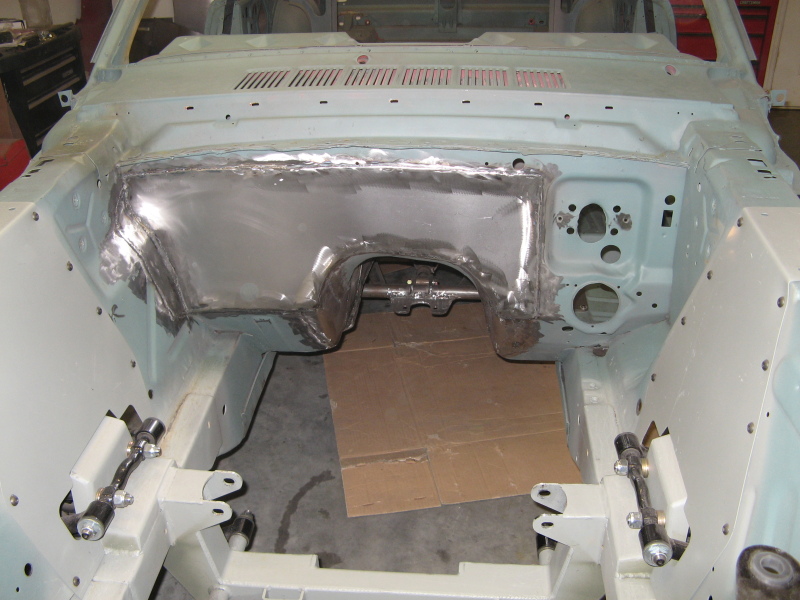
Ahh finally done with the firewall. It actually only took two days to do this, and now I don't have to spent alot of time with mud to get the firewall smooth when we go to paint. Hopefully the engine won't require anymore space on the firewall. Because I don't want to have to redo, what I just redone. ;-). Like always here are some candid pictures of this little project.