Under Dash Wiring
Under the dash is where the heart of any electrical usually lies. Here you'll see a pelthra of wires spagetting out from every nook and cranny. I do love my America Autowire kit with the updated fuse panel and LABELED WIRES!!! This kit was setup from the the get-go with more options than I would ever need (powered windows are pre-wired, etc). So there are a few I just bundled up and capped off for possible future use. But overall I just took my time, tested everything twice and then cleaned it up with some wire braiding.
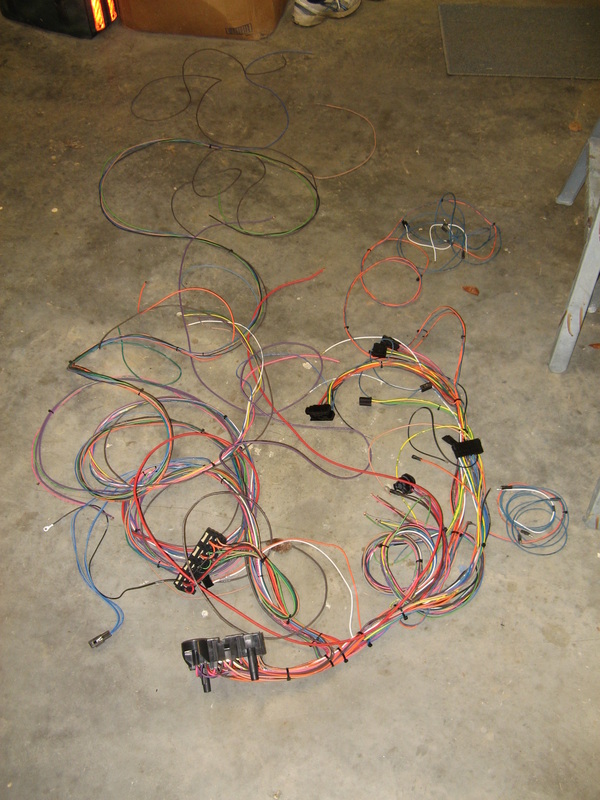
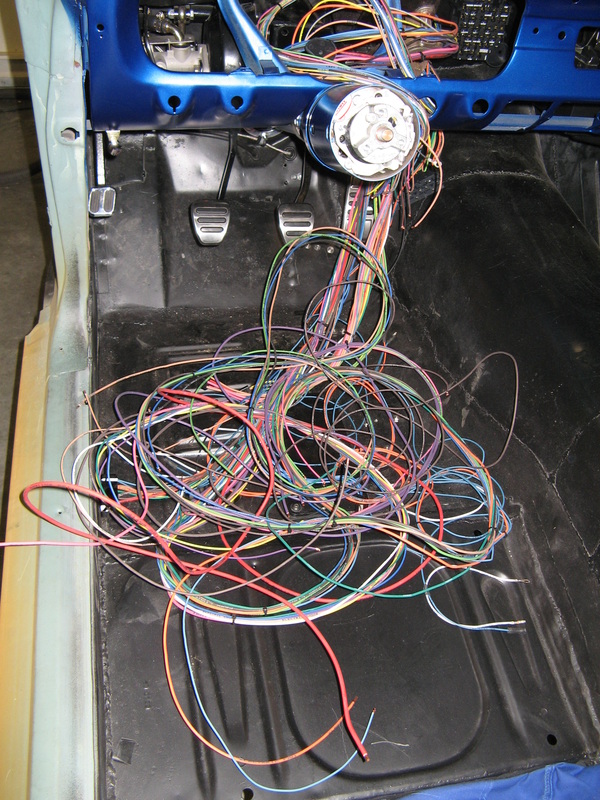
When your electrical system barfs on your floorboard
I told you it was a spagetti mess. But luckily the are already divided up into correct bundles to run where they need to go. This kit was made to be modified, so all the connectors need to be installed. But that was fine, I like doing wiring myself. Besides, I get pretty meticulous with my wiring harnesses.
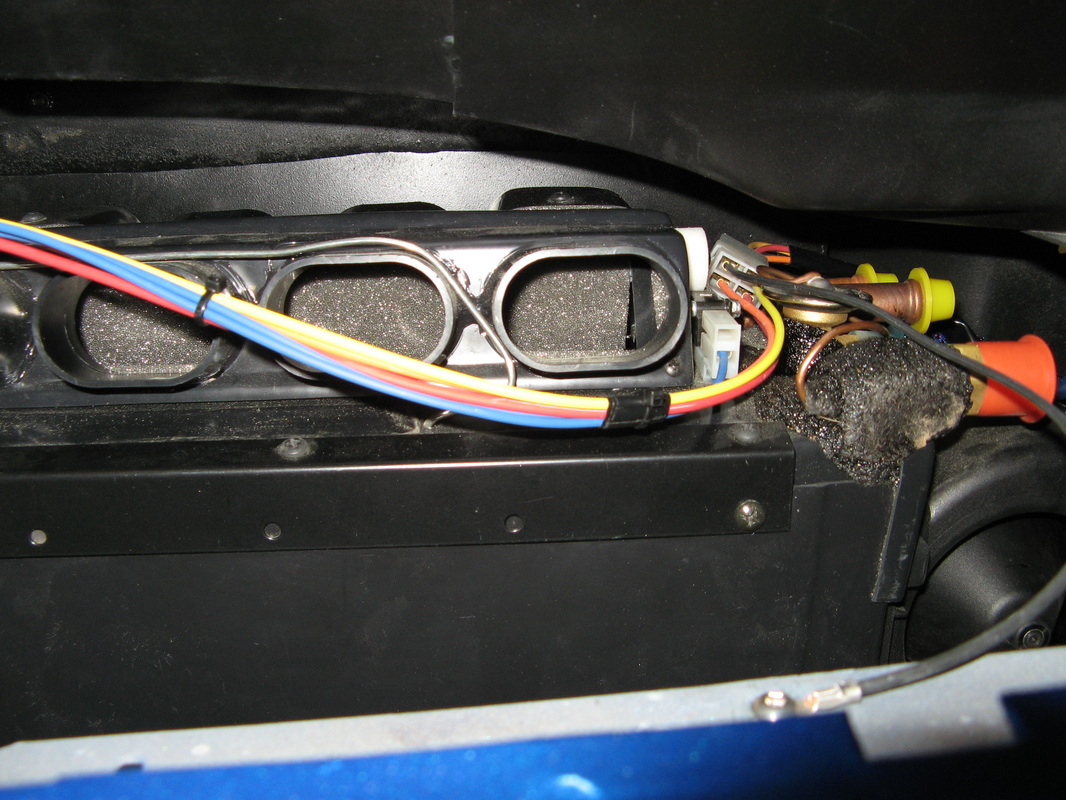
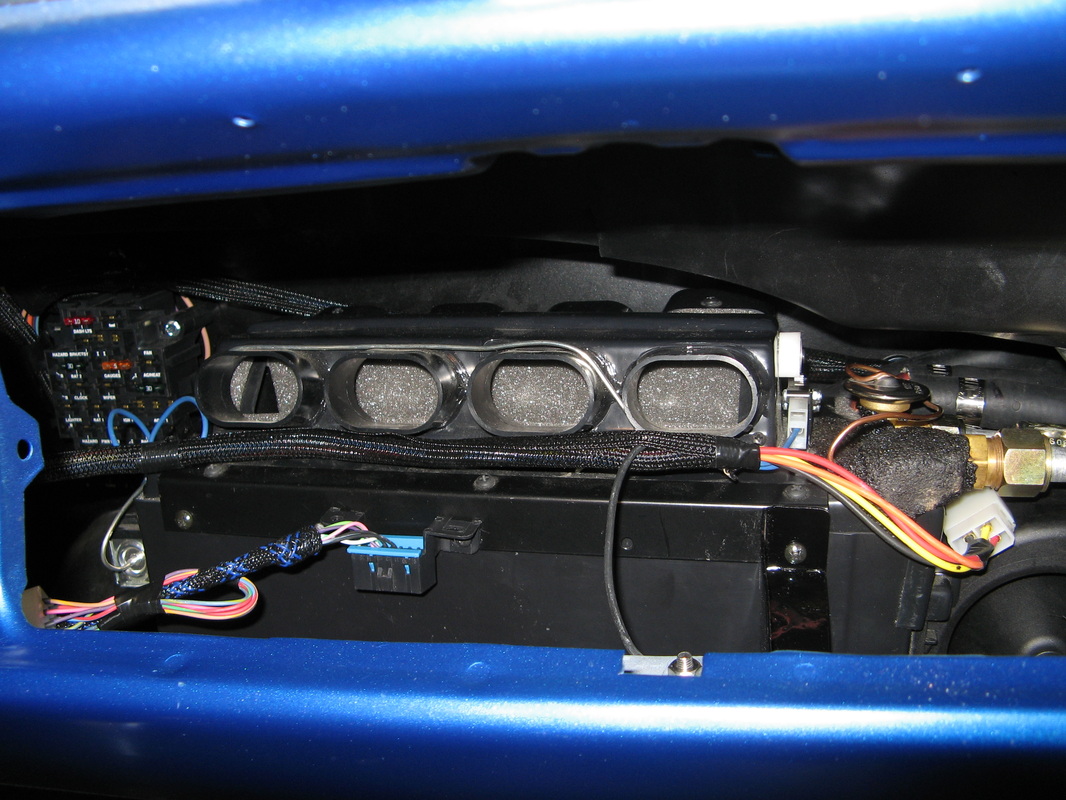
Calming the mess
So after a bit of reading and testing, here you can see how everything starts to flow correctly under the dash. The two plugs in the front are for the gauge cluster. The white disconnect on the far left is for the wiper switch. I picked up the intermittant wiper switch from Mustang Unlimited so that I can have nicer wipers now. The only problem right now is that when I first turn the car on, they cycle once, even though the wiper switch is off. I call tech support and the answer was "well at least you have intermittant wipers now." ???? What a stupid answer, I feel sorry for the engineer that designed that switch to not be able to account for the switch in the "OFF" position. I'm going to crack on the box and re-engineer it once I get to the interior trim out, so that it works "correctly." The other pictures are for the A/C controls, A/C unit, and the connection to the Ford ECM harness. The ECM harness was quite easy to interface with. It was just 6 wires and even includes a clutch safety switch.


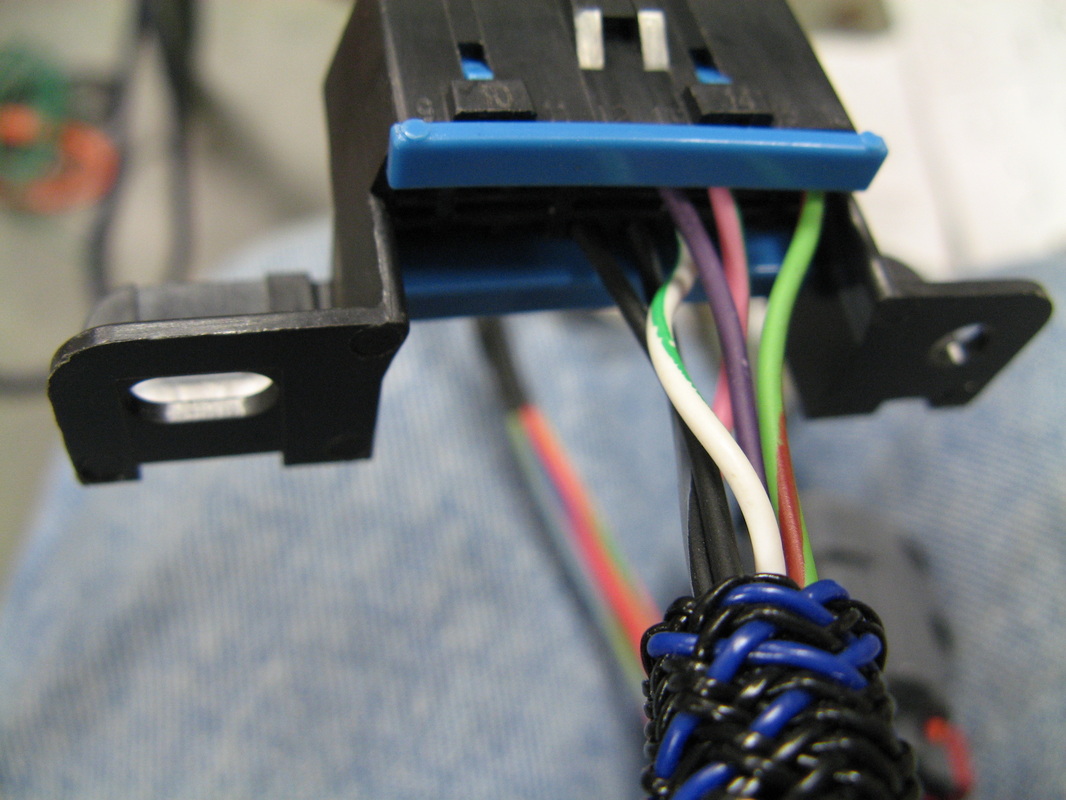
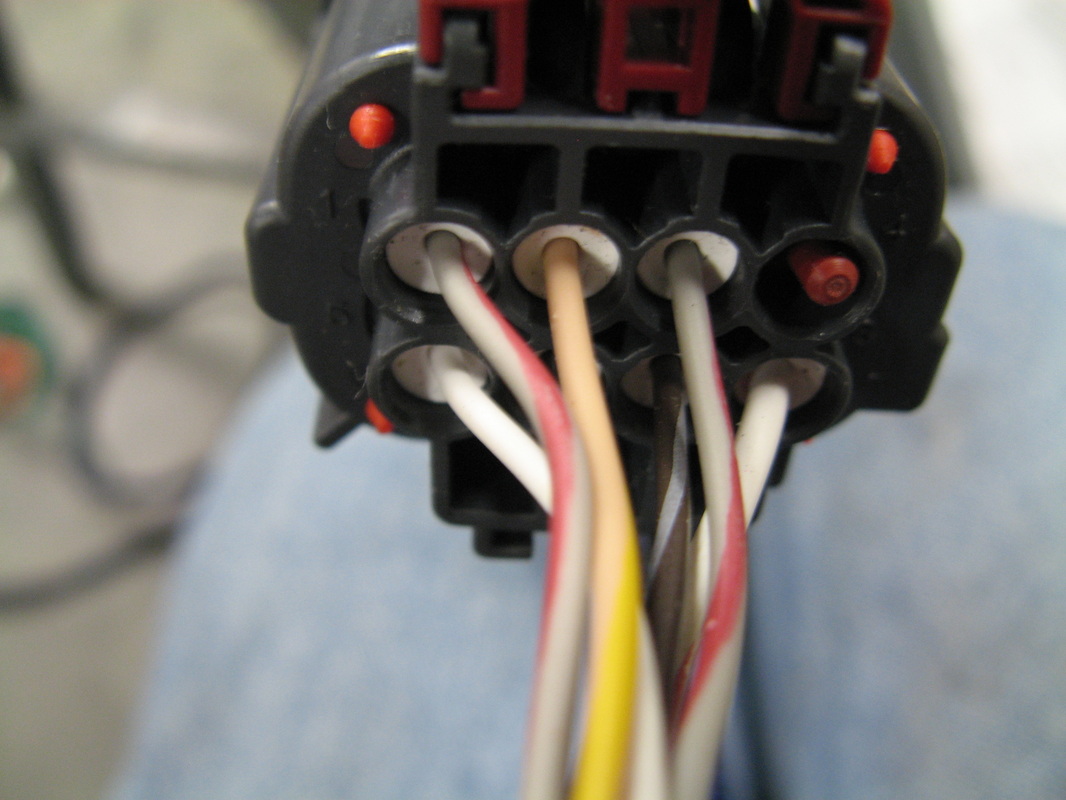
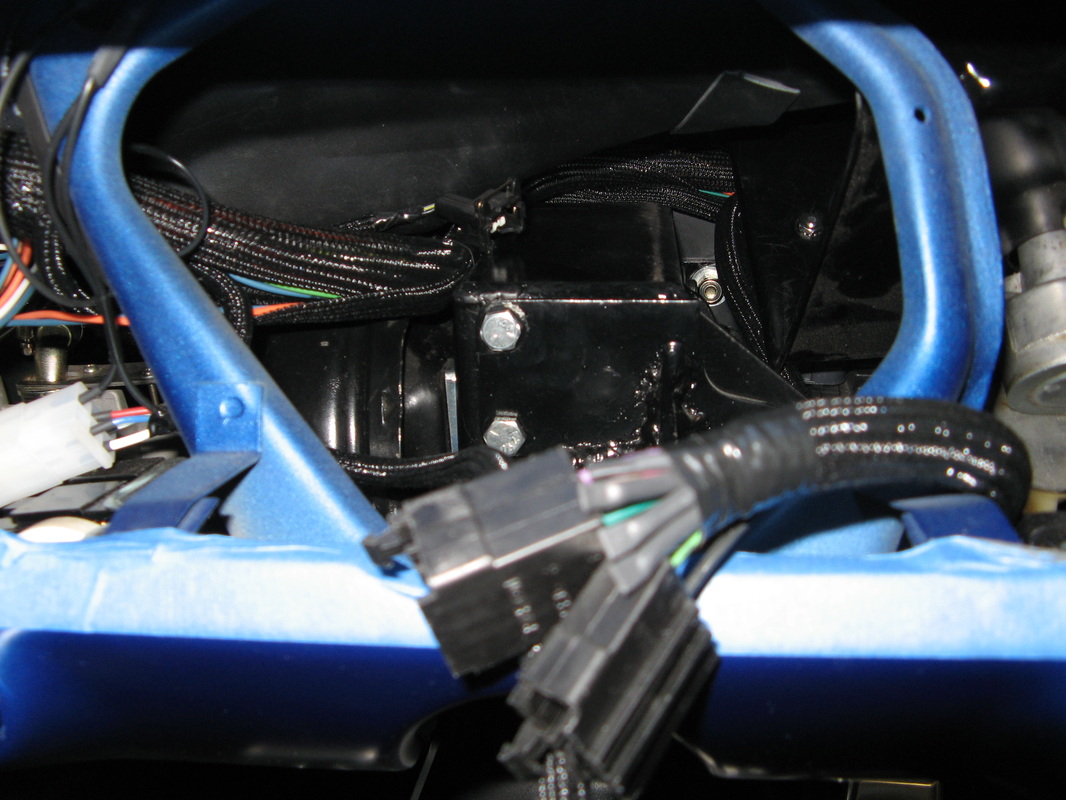
Field servicable connectors are awesome
The Ford manual instructed me to drill a hole large enough so that the connector for the pedal and the OBDII port could slide through. These are monster plugs compared to the wire bundle that needed to pass through the firewall. So I just carefully disassembled these plugs and just fed all my wires in a tiny 3/4" hole. Then I reassembled the connectors on the inside of the car, and PRESTO working plugs again. The trick to any of these automotive plugs is figure out how to pull off the secondary lock, so that you can get to the primary latch to pull each wire out. Oh, and make sure you get the pinout right and take pictures before hand just in case.
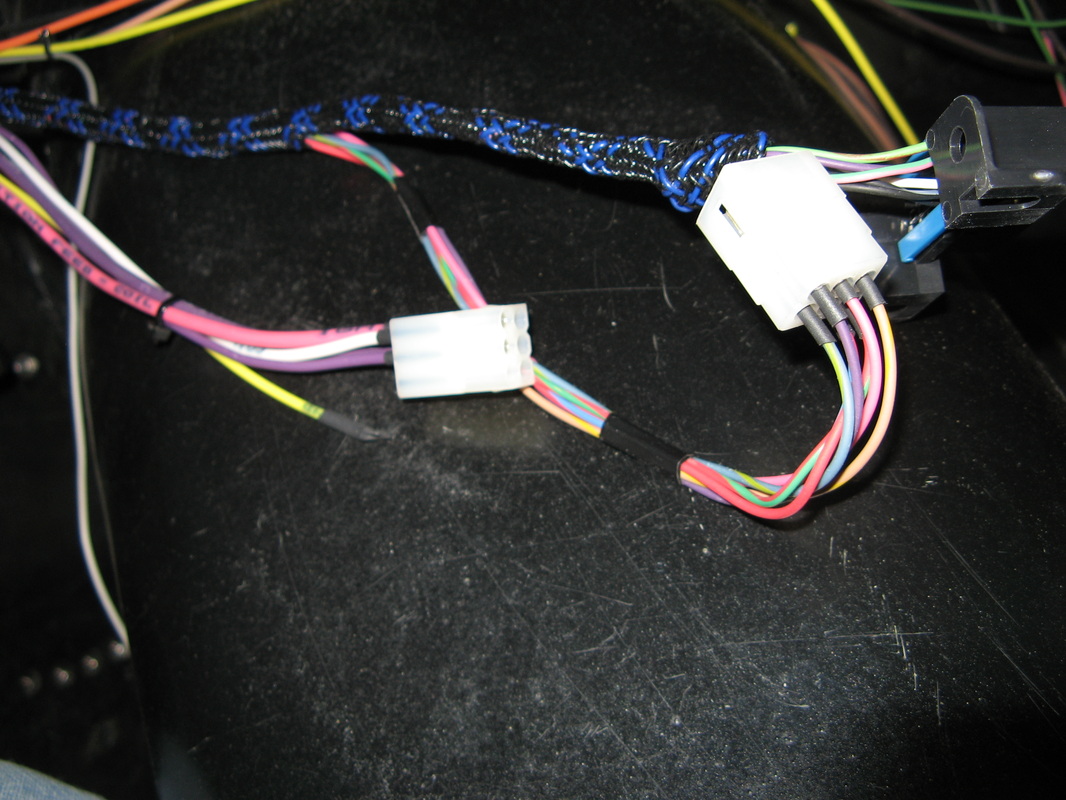
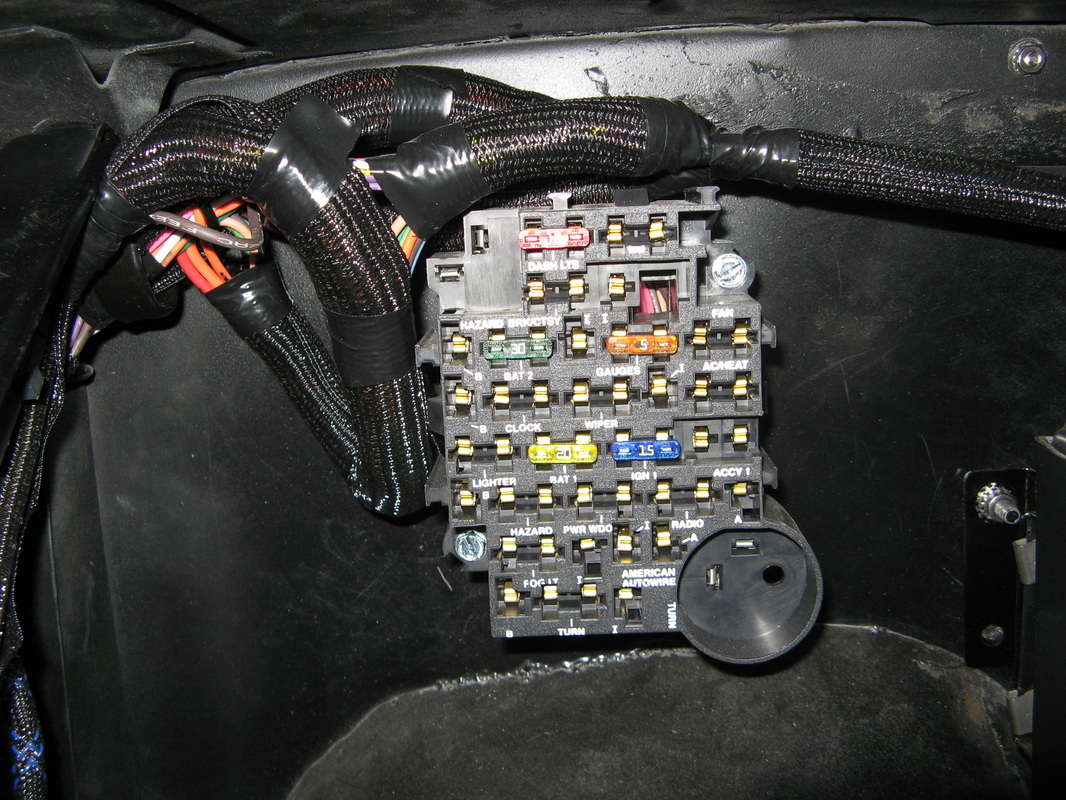
Cleaning everything up
Once everything checked out I went back and added split wiring loom to everything to give it that finish look, and make the bundles easier to deal with. Here you can also see the new fuse panel on the center of the firewall instead of tucked under the driver side of the dash. BTW, new style fuses are so much better than the old glass ones. I blew up quite a few trying to figure out the wiring for the wiper motor.
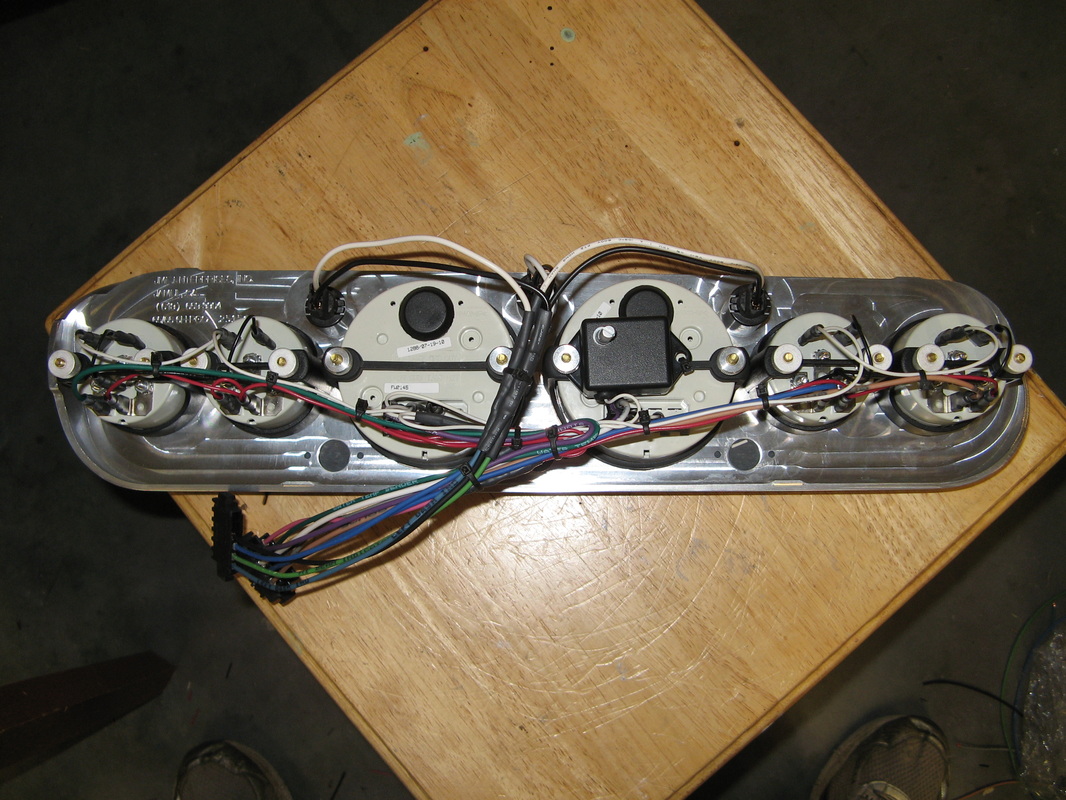
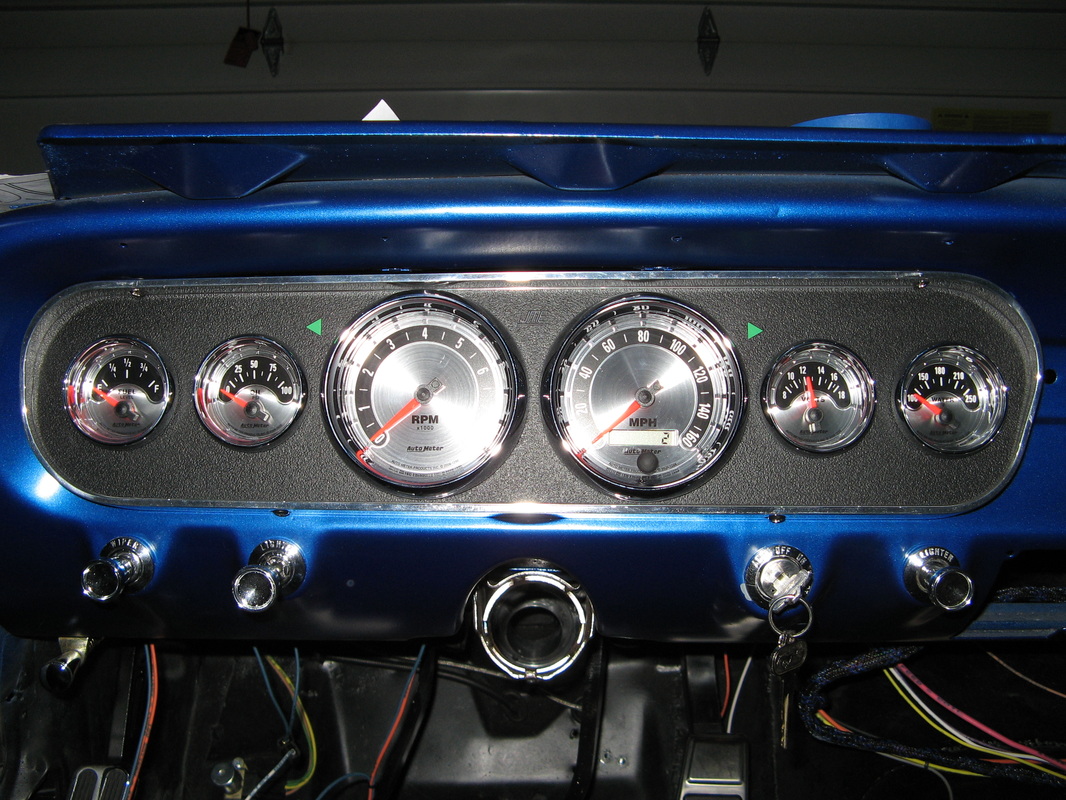
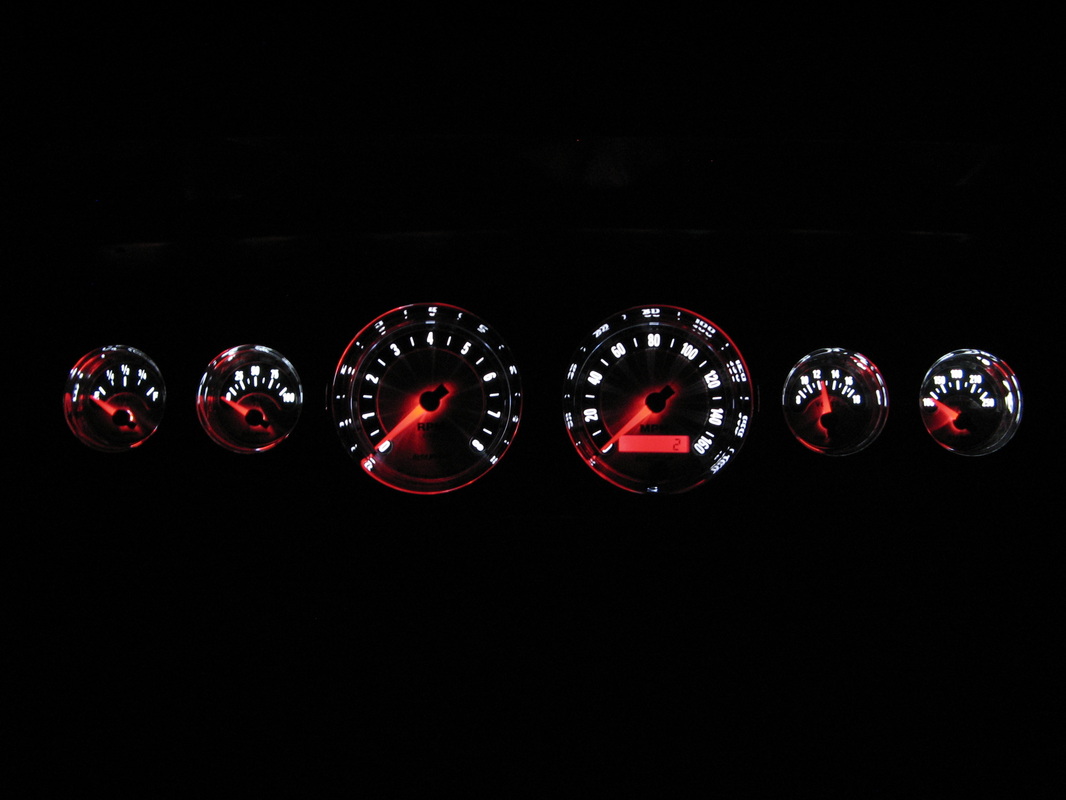
Triming out the gauge cluster
I finally broke down and paid the money for the JME billet gauge cluster. It was expensive compared to some of the other 6-gauge clusters, but was well worth the price. The aluminum just looks great with the black insert. I put in a set of Autometer American Muscle gauges. These are some of their newer ones with LED backlighting. They just look awesome at night. I was able to wire up the speedometer, tachometer, oil pressure, water temp, fuel level, and voltage meter without too much trouble. I tried out Autometer's LED dimmer module but wasn't able to get the full range from my original light switch. So I'll probably add in a different LED driver to get the full range when I'm doing the final interior.